The Menu section of the Control Panel (under Build) allows you to control the menu links on your site.
You can completely customize the menus for your site. There are two menus pre-created for you - a "primary menu" and a "secondary menu" but you do have an option to add new menus.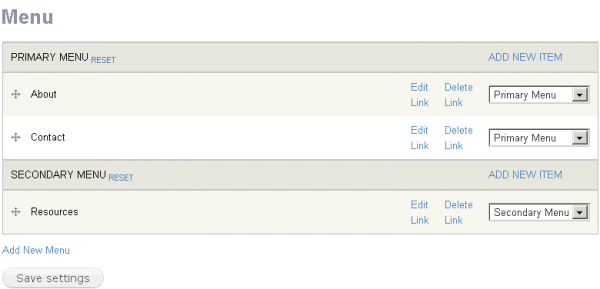
Primary links are often first-level material and will be found below the header area in the layout view. The secondary menu is placed in the top right column and would be links to second-level material. However you can experiment with links in either menus and place them wherever you like.
You can change the order of how the menus appear by dragging the ![]() icon next to the menu items.
icon next to the menu items.
You can rename the menu links by clicking on "Edit Link" and typing the new name. You can also choose to delete these links.
You can also choose whether each menu item should be in the primary menu or the secondary menu.
After you make changes on this page, make sure to click the "Save Settings" button at the bottom of the page.
Creating Menu Links
You can create new menu links by clicking on "Add New Item" in either the primary or secondary section.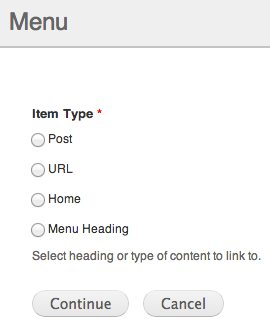
You are given the option of creating a new Post, URL, Home or Menu Heading.
|
Post: Use this when choosing a page you have already created or to make a new page as the destination for your link. |
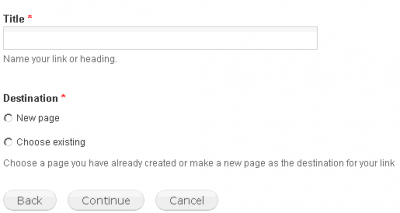 |
| URL: Use this when you want to add a new link to your menus. This link can go anywhere, even places outside of your site, such as Google. | 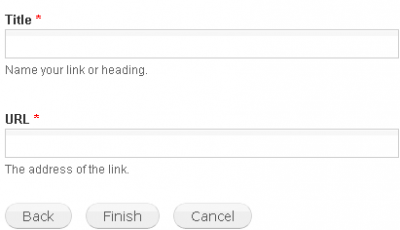 |
| Home: Use this when you want to create a link that will send you to the Front Page (i.e. home page) | 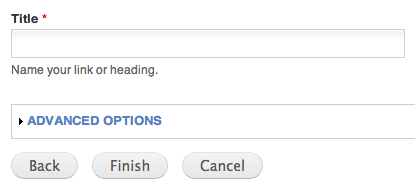 |
| Menu Heading: Use this to simply name your link. |  |
You can also add a new menu*, aside from the primary and secondary menus. To do this, click on "Add New Menu" located under the secondary menu section. 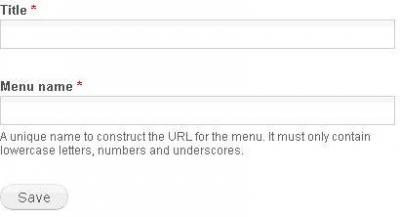
Fill out the form and click save.
*One caveat is that themes may presume a maximum number of menu items in the navigation bar area. If you exceed that number the site may look funny. That said, you're welcome to present your content in any way you prefer.


